Understanding the Basics of Gluten-Free Baking
Why Gluten-Free Baking Feels Like Starting from Scratch
Baking without gluten can feel like stepping into a kitchen from another planet—everything looks familiar, yet things don’t behave the way you expect. That beautiful chewiness of a warm bread loaf? That’s gluten’s magic. So, what happens when it’s gone? Your job is to recreate that structure without the star ingredient. It’s like building a house without bricks—you’ll need different tools and materials altogether.
Here’s the truth: gluten-free baking requires patience, curiosity, and yes, a bit of trial and error. Don’t be discouraged if your first loaf feels heavy as a doorstop. Start small with simple recipes: muffins, pancakes, or cookies. These forgiving bakes help you understand how gluten-free flour blends differ from regular ones.
- Textures might change drastically. Don’t panic! This is normal; simply adjust with binders like xanthan gum or psyllium husk.
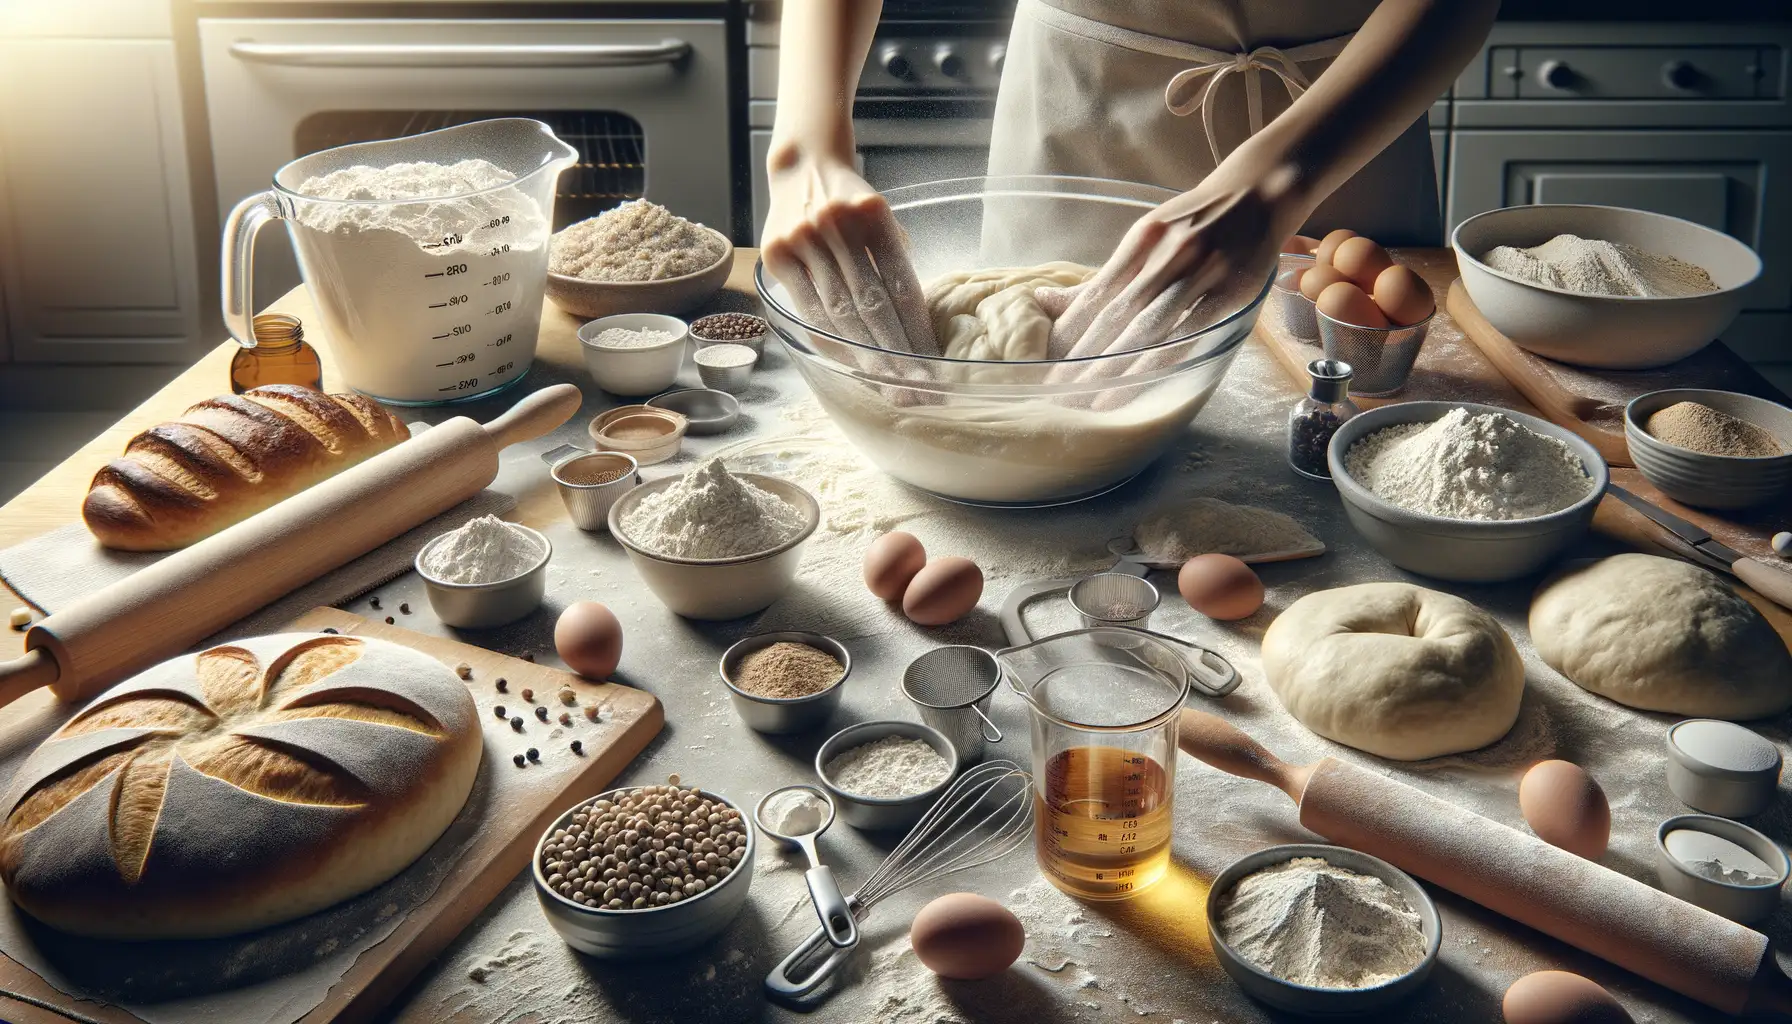
- Measure carefully—gluten-free flours often soak up more moisture than their wheat-based counterparts.
Learning the basics is less about following rules and more about observing how batters and doughs behave differently. Watch them, feel them, even smell them—it’s all part of the journey.
Key Ingredients for Moist and Flavorful Baked Goods

The Power of Moisture-Rich Ingredients
When it comes to gluten-free baking, moisture is your best friend. Without gluten to act as a binding superhero, baked goods can quickly turn dry or crumbly. Enter the magic of ingredients that lock in moisture, making each bite luscious and irresistible.
Nut butters, like almond or cashew, don’t just add flavor—they bring creamy richness to cookies and cakes. Think of them as the batter’s secret weapon against dryness. Then there’s Greek yogurt or dairy-free alternatives, which not only boost moisture but also create a delightfully tender crumb (hello, dreamy muffins!).
Don’t underestimate the power of liquid sweeteners, too. Swap out some of that granulated sugar for honey, maple syrup, or agave nectar. They add depth of flavor while keeping your bakes soft and chewy.
- Applesauce: A fruity trick for moist cakes without weighing them down.
- Mashed bananas: Sweet, sticky, and perfect for breads or pancakes.
Binders That Make a Difference
Without gluten, you need some glue to hold everything together. This is where binders step in like the unsung heroes of gluten-free baking. Ever tried xanthan gum? Just a teaspoon transforms crumbly dough into cohesive perfection. Meanwhile, the humble chia seed or flaxseed becomes gel-like when mixed with water—a quirky substitute for eggs!
But here’s a wildcard: gelatin. It’s not just for desserts; a small amount can add elasticity to bread dough, helping it rise and stay soft. For a vegan option, agar-agar works wonders too. Trust me, these little additions make all the difference between a mediocre bake and one that has people begging for seconds!
Techniques to Achieve Better Texture in Gluten-Free Baking
Mastering the Art of Fluffy and Tender Results
Ever wondered why gluten-free baked goods sometimes feel dense or crumbly, like a disappointing sandcastle? Texture can make or break your baked dreams, but there’s good news: with the right techniques, you can create treats so light and tender they’ll practically float off the table.
One game-changer is how you handle your batter. Unlike traditional dough, gluten-free mixtures often require a little extra TLC. Stir gently and avoid overmixing—treat it like you’re cradling a baby bird! Letting the batter rest for 20-30 minutes before baking allows the flours to fully hydrate, giving you a smoother, cohesive texture.
The Power of Add-Ins and Small Tricks
Sometimes, the secret lies in the details. Here are small tricks that pack a big punch:
- Silicone baking mats: Swap parchment for silicone to create even heat distribution, which helps prevent overly dry edges.
- Xanthan gum or psyllium husk: These unsung heroes mimic the elasticity of gluten. Just a teaspoon or two is enough to give your dough structure and grace.
- Don’t shy from wet ingredients: Moisture is your ally here. Think mashed bananas, applesauce, or even a dollop of Greek yogurt.
By tweaking your approach and adding thoughtful touches, you’ll unlock that next-level texture, where every bite feels like magic!
Common Challenges and How to Overcome Them

When Your Cake Feels Like a Brick
Gluten-free baking can sometimes feel like solving a puzzle with missing pieces. One of the biggest headaches? That dreaded dense, heavy texture nobody asked for. If your cakes or muffins are coming out more like doorstops than desserts, it’s likely because of a lack of structure, something gluten-free flours struggle with.
The fix? Embrace **binders**! Adding ingredients like xanthan gum or psyllium husk can mimic gluten’s elasticity and help hold everything together. Also, don’t forget to measure precisely—gluten-free recipes can be less forgiving of guesswork. Oh, and one more thing: check your oven’s temperature. Too cool, and that batter won’t rise; too hot, and the crust develops before the inside has a chance to bake properly.
Crumbly Cookies and Tear-Worthy Dough
Ever tried rolling out gluten-free dough, only to have it crumble apart in your hands like sandcastles at low tide? This is all too common because gluten-free flour lacks the natural stretchiness of wheat flour.
Here’s how to fix that:
- Keep your dough chilled—it helps bind the fats and flours together.
- Don’t skimp on the moisture. Add a splash more liquid or even an extra egg yolk to help keep things cohesive.
And if all else fails? Roll your dough between two sheets of parchment paper. No mess, no stress—just smooth, pliable magic.
Tips for Storing and Serving Gluten-Free Baked Goods
Keeping Freshness Alive: Storing Gluten-Free Goodies
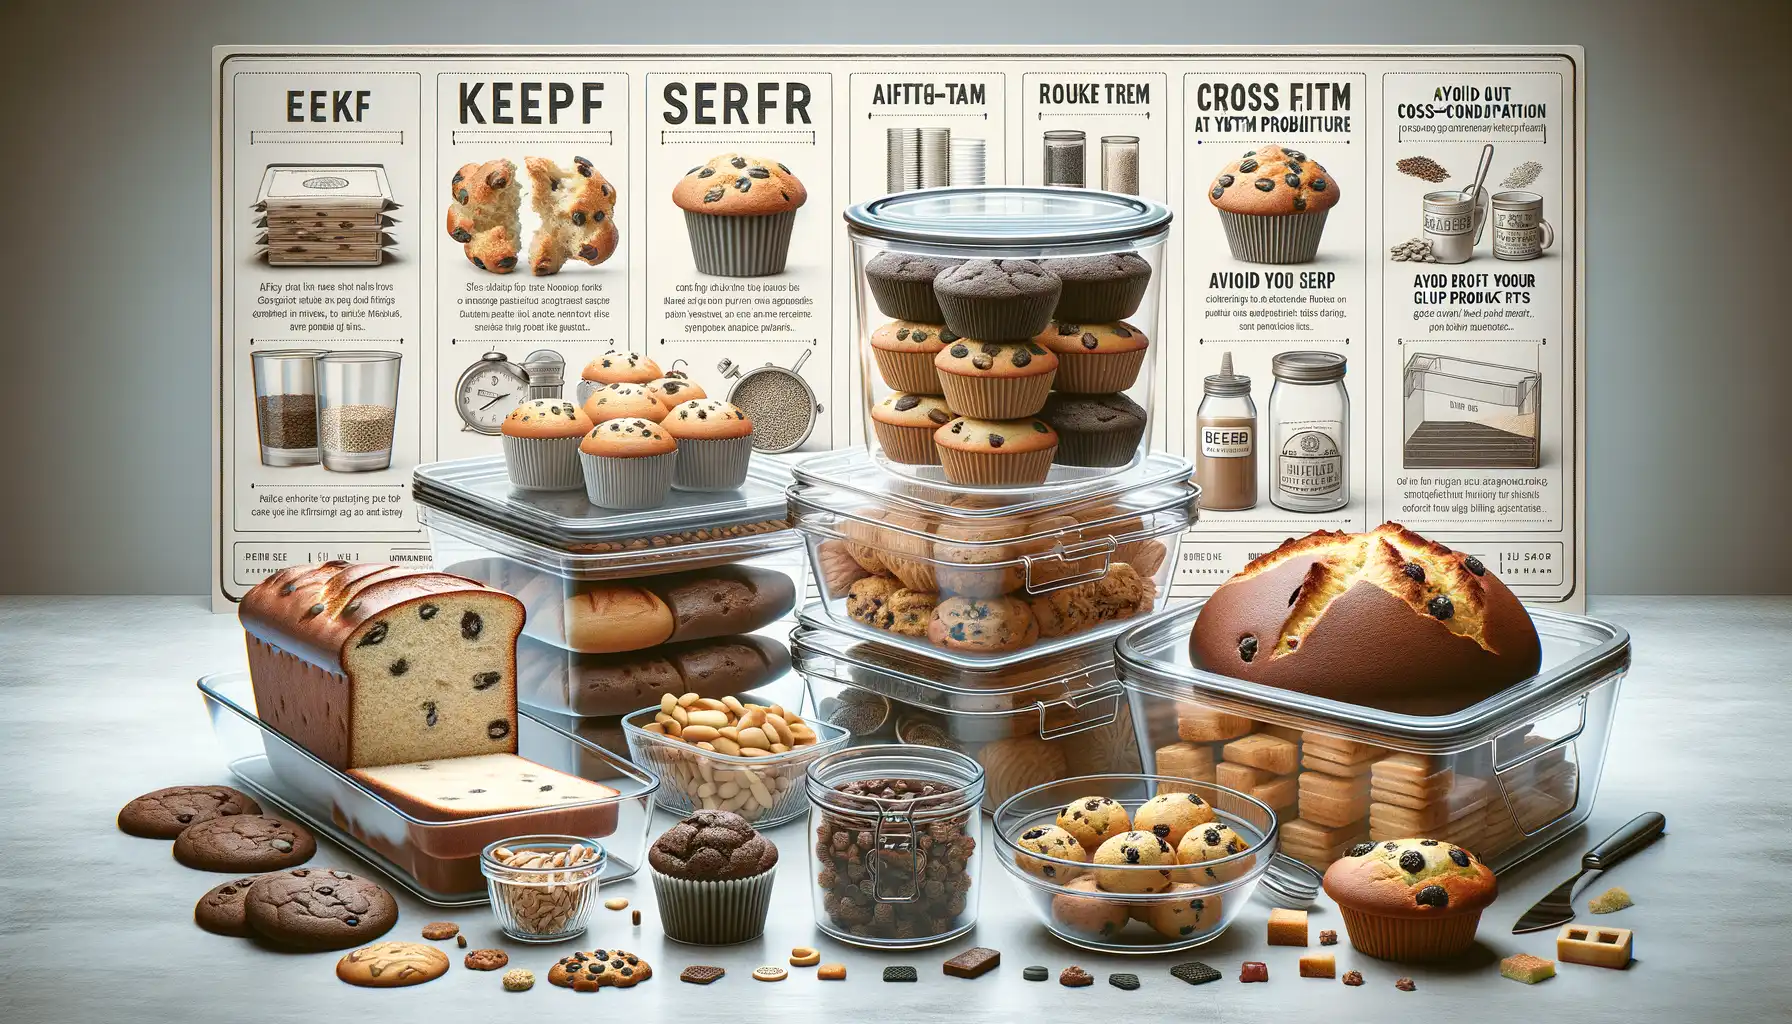
Ah, the joy of pulling a golden-brown gluten-free loaf or batch of cookies from the oven—pure magic! But here’s the thing: gluten-free baked goods are a little like divas backstage. They need special care to stay at their best. Unlike traditional treats, they don’t have that stretchy gluten to keep them moist for days. So, what’s the secret?
First off, always let your baked masterpieces cool *completely* before storing them. Any trapped heat can turn into sneaky moisture, making your goods feel rubbery or soggy. For short-term storage (1-2 days), keep them in airtight containers on your countertop—but add a paper towel to absorb excess humidity. Want them to last longer? The freezer is your hero. Wrap each item tightly in plastic wrap, then slide them into a resealable bag for double protection. Trust me, this step matters!
Serving Gluten-Free Treats Like a Pro
Nobody wants a rock-hard muffin, right? If your goodies have been chilling in the fridge or freezer, give them a little love before serving. Here’s what works:
- Warm up slices of bread or muffins in the microwave for 10-15 seconds to restore softness.
- Toast frozen bagels or rolls lightly to bring back their crisp edges.
- For cakes, let them sit at room temperature for 30 minutes before slicing—patience is key!
And here’s a pro tip you’ll love: drizzle a touch of honey or melted butter over warmed items for an extra hit of flavor and moisture. After all, who doesn’t deserve a little extra sweetness?